This lesson teaches you to
You should also read
If you followed the previous lesson to create an Android project, it includes a default set of "Hello World" source files that allow you to immediately run the app.
How you run your app depends on two things: whether you have a real device running Android and whether you're using Android Studio. This lesson shows you how to install and run your app on a real device and on the Android emulator, and in both cases with either Android Studio or the command line tools.
Run on a Real Device
If you have a device running Android, here's how to install and run your app.
Set up your device
- Plug in your device to your development machine with a USB cable. If you're developing on Windows, you might need to install the appropriate USB driver for your device. For help installing drivers, see the OEM USB Drivers document.
- Enable USB debugging on your device.
- On most devices running Android 3.2 or older, you can find the option under Settings > Applications > Development.
- On Android 4.0 and newer, it's in Settings > Developer options.
Note: On Android 4.2 and newer, Developer options is hidden by default. To make it available, go to Settings > About phone and tap Build number seven times. Return to the previous screen to find Developer options.
Run the app from Android Studio
- Select one of your project's files and click
Run
 from the toolbar.
 - In the Choose Device window that appears, select the Choose a running device radio button, select your device, and click OK .
Android Studio installs the app on your connected device and starts it.
Run the app from a command line
- Change directories to the root of your Android project and execute:
ant debug
- Make sure the Android SDK
platform-tools/directory is included in yourPATHenvironment variable, then execute:adb install bin/MyFirstApp-debug.apk
- On your device, locate MyFirstApp and open it.
That's how you build and run your Android app on a device! To start developing, continue to the next lesson.
Run on the Emulator
Whether you're using Android Studio or the command line, to run your app on the emulator you need to first create an Android Virtual Device (AVD). An AVD is a device configuration for the Android emulator that allows you to model a specific device.
Create an AVD
- Launch the Android Virtual Device Manager:
- In Android Studio, select Tools > Android > AVD Manager, or click
the AVD Manager icon
 in the toolbar.
 - Or, from the command line, change directories to
<sdk>/tools/and execute:android avd
Note: The AVD Manager that appears when launched from the command line is different from the version in Android Studio, so the following instructions may not apply.
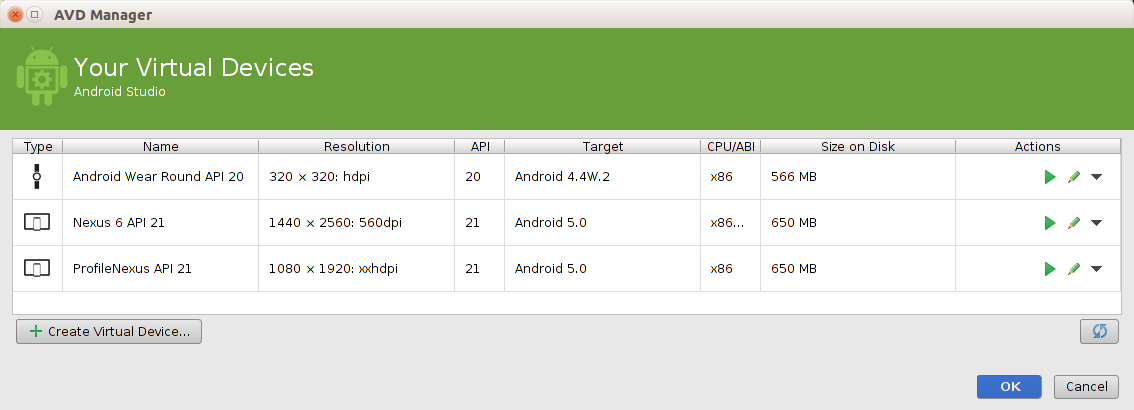
Figure 1. The AVD Manager main screen shows your current virtual devices.
- In Android Studio, select Tools > Android > AVD Manager, or click
the AVD Manager icon
- On the AVD Manager main screen (figure 1), click Create Virtual Device.
- In the Select Hardware window, select a device configuration, such as Nexus 6, then click Next.
- Select the desired system version for the AVD and click Next.
- Verify the configuration settings, then click Finish.
For more information about using AVDs, see Managing AVDs with AVD Manager.
Run the app from Android Studio
- In Android Studio, select your project and click Run
from the toolbar.
- In the Choose Device window, click the Launch emulator radio button.
- From the Android virtual device pull-down menu, select the emulator you created, and click OK.
It can take a few minutes for the emulator to load itself. You may have to unlock the screen. When you do, My First App appears on the emulator screen.
Run your app from the command line
- Change directories to the root of your Android project and execute:
ant debug
- Make sure the Android SDK
platform-tools/directory is included in yourPATHenvironment variable, then execute:adb install bin/MyFirstApp-debug.apk
- On the emulator, locate MyFirstApp and open it.
That's how you build and run your Android app on the emulator! To start developing, continue to the next lesson.